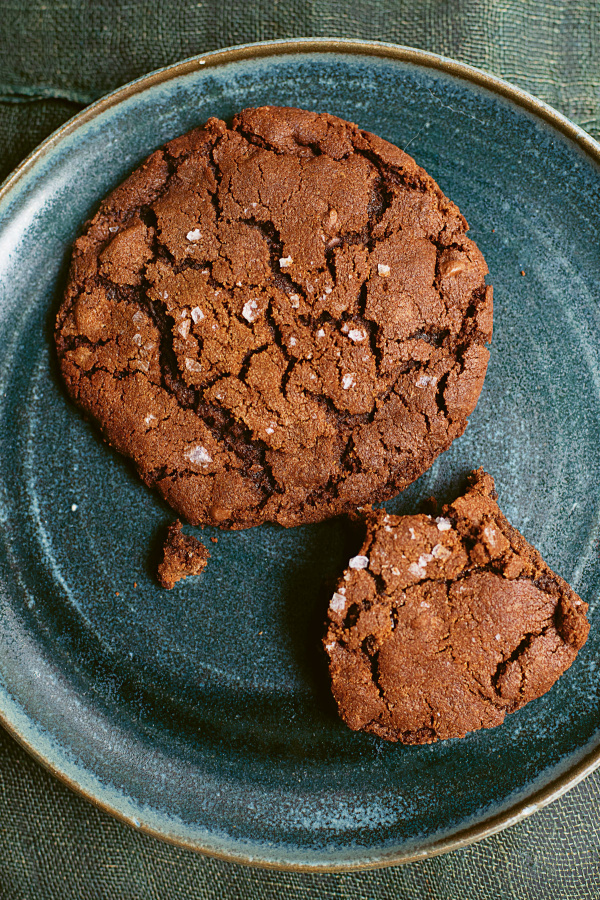
A Vegan Salted Chocolate Tart
A community recipe by guacandrollNot tested or verified by Nigella.com
Introduction
While the salted chocolate tart Nigella made in episode 4 of Simply Nigella isn't vegan in the series, my Mum and I both thought it might be quite easy to veganise after seeing the base was made of Oreos. You could almost see our ears prick up when Nigella mentioned the base was made predominantly from them. The recipe below is my Mum's exchanges in ingredients- she uses single soy cream and I've also now tried it with single oat cream, and then she uses chocolate soy milk to add even extra chocolate in. She also suggested baking it really briefly in the oven just to get it set a little more- which I've kept doing too. As Nigella mentions in her recipe- this tart is pretty easy to make, even when it's vegan, but it tastes like such a treat. I've even started baking one for two occasions, and bringing half to each, pre cut into slices. It's perfect for a last minute Christmas dinner party, and having a few extra slices of this around wouldn't go amiss to trade for help with decorating the tree or hanging the mistletoe.

Share or save this
Ingredients
Serves: 10-12
For the Base
- 28 oreo cookies or two packs
- 50 grams dark chocolate (check it's dairy free- most over 60% are)
- 50 grams vegan margarine
- 1 teaspoon Maldon sea salt flakes
For the Filling
- 100 grams dark chocolate
- 25 grams cornflour
- 60 chocolate soy milk or another alternative milk
- 500 single soy cream or another alternative cream
- 50 grams cocoa
- 2 teaspoons instant espresso powder or 2 tsp freshly brewed coffee
- 75 grams caster sugar
- 1 teaspoon vanilla essence
- 2 teaspoons olive oil
- 3 teaspoons Maldon sea salt flakes
Method
A Vegan Salted Chocolate Tart is a community recipe submitted by guacandroll and has not been tested by Nigella.com so we are not able to answer questions regarding this recipe.
To make the base
- Grease a medium-sized, loose-bottomed flan tin- approximately 22 or 23cm in diameter. Preheat the oven to 160°C.
- Break the Oreos into pieces as you drop them into a food blender. Add the chocolate, broken up, then blend until it turns to crumbs. Next add the margarine and salt, and mix once more.
- If you don’t have a blender, break the biscuits up in a freezer bag, then bash them to crumbs with a rolling pin (you might want to add an extra freezer bag incase there are any splits). Then melt the chocolate with the margarine, and then combine in a large bowl with the biscuits and salt.
- Pour the biscuit mix into your greased tin, and use the back of a spoon to spread it out across the base and then up the sides. Do this gradually and you’ll eventually pat everything into place- the more compact the better for a sturdy tart.
- Bake in the oven for five minutes- even less if you can smell the biscuits cooking sooner- this is just to crisp it up and make it sturdier.
- Once the five minutes are up, remove from the oven and leave to cool for a minute or two. Place in the fridge to chill and harden for two hours, or overnight- and make sure there aren’t any other strong flavours in your fridge like garlic or onion- if so, cover with a bag to make sure it doesn’t take on the other flavours.
To make the filling
- Grab a small jug and whisk the cornflour into the chocolate milk until it is smooth.
- Chop up the chocolate, and add to a large saucepan- a wok will also do the trick. Now pour in the cream, sieve in the cocoa, the coffee, sugar, vanilla, olive oil and salt. Place over a low heat and whisk gently, just so it all combines and isn’t lumpy.
- Once the chocolate has melted, remove from the heat and pour in the chocolate milk and cornflour mix. Once it’s incorporated, add back on a low heat, and using a spatula or wooden spoon, stir until the mixture thickens. This stage can take between five and ten minutes, but be careful for any burning at the bottom of the pan, as there’s a fair amount of sugar in the mix now, and you don’t want a charred chocolate flavour in the tart! If it starts to stick, just take the pan off the heat, stir some more, and add it back- you don’t want this to boil.
- It’s thick enough when the mixture will coat the back of the spoon- as Nigella suggests- run your finger through the mixture across the back of the spoon and a clear line should stay there.
- Now pour it into a measuring jug. Grab a piece of greaseproof paper and run this under a cold tap, wring it out, scrunch it up, and place it over the surface of the chocolate filling, so it’s touching it. This it to stop a skin forming. Sit in the fridge for 15 minutes while you catch up with the washing up.Once the 15 minutes are up, use a spatula to spoon it into your biscuit base, and smooth on the surface. Place back in the fridge and leave for at least four- five hours.
- To serve, put your hand beneath the tart in the centre, and use your other hand to gently pull away the pan ring. You can use a tin or jar as a platform if it’s feeling a bit delicate. Slice up with cups of steaming coffee or green tea, or add some coconut yoghurt for an extra-filling pudding. Wonderbar!


Tell us what you think
Thank you {% member.data['first-name'] %}.
Explore more recipesYour comment has been submitted.
What 2 Others have said
-
Posted by watayyy on 7th August 2020
-
Posted by ewp on 26th December 2015
Show more commentsIt tastes heavenly but I was wondering why does this recipe require 3 teaspoons of salt while the original one only 3/4? Because my tart was pretty salty and I thought it was normal until I saw the original recipe
Just made this - absolutely delicious!! Thank you for veganising it!!